Shopify WebP Conversion Color Profile Fix: 2026 Seller Guide
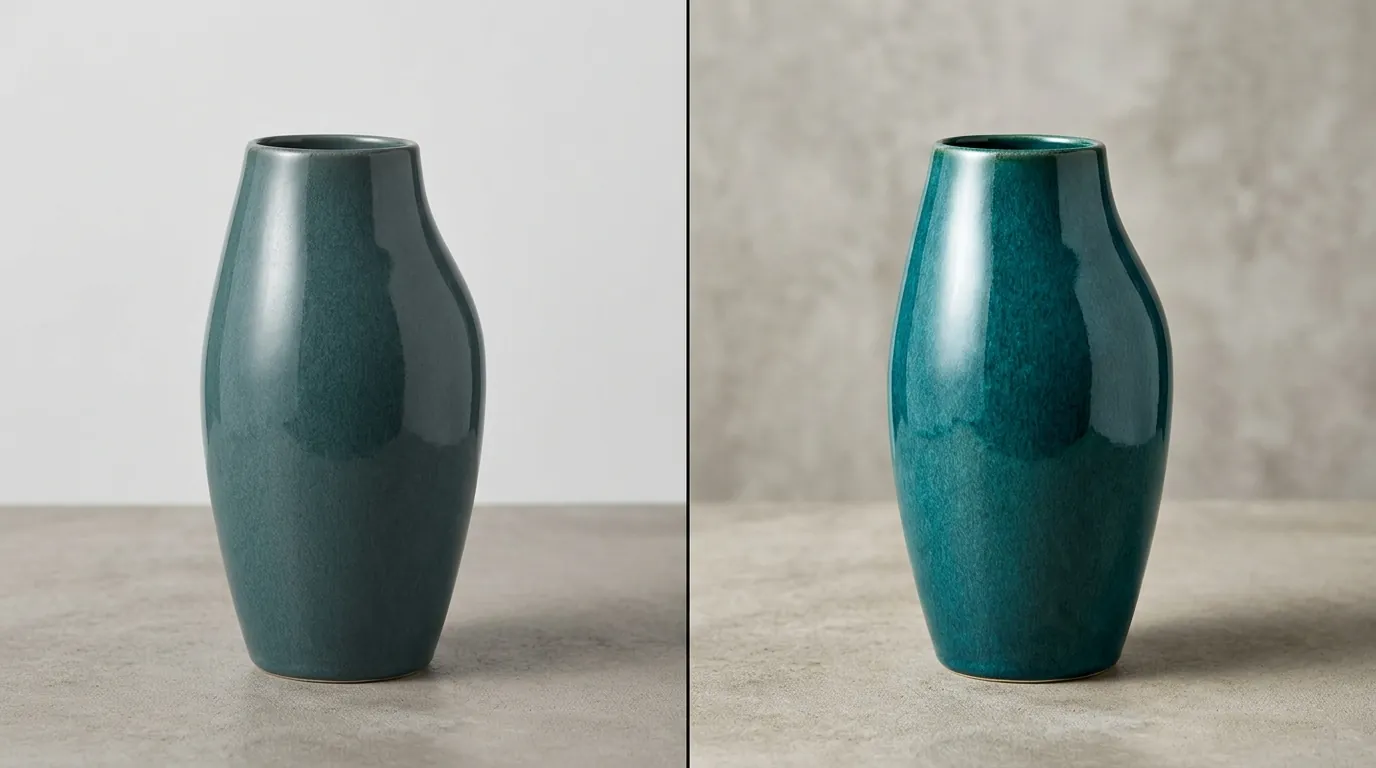
Your product looks vibrant and punchy in your photo editor, but the moment you upload it to Shopify, the colors turn dull, greyish, and “washed out.” This frustrating shift occurs because Shopify’s automated WebP conversion engine strips your embedded color profiles to save file space, forcing the browser to guess how your colors should look.
Shopify automatically converts images to WebP and strips embedded color profiles to save space. To fix washed-out colors, you must convert your images to the sRGB color space before uploading them to your store.
Quick Reference Table
Related: TikTok Shop Listing Policy Crackdown 2026: Image Rules & Fixes · Amazon Climate Pledge Friendly Image Requirements (2026) · Etsy AI Image Disclosure Requirements 2026: Seller Guide
Run a quick audit of your current assets against these Shopify technical standards. If your files exceed these limits or use the wrong color space, the platform’s compression algorithm will aggressively degrade your image quality.
| Specification | Requirement/Limit | Source |
|---|---|---|
| Maximum File Size | 20 MB | Official Shopify Help |
| Maximum Resolution | 4472 x 4472 pixels (20 megapixels) | Official Shopify Help |
| Recommended Resolution | 2048 x 2048 pixels | Official Shopify Help |
| Required Color Profile | sRGB (Standard Red Green Blue) | Industry Standard |
| Automatic Format | WebP (Served to supported browsers) | Shopify CDN Policy |
| Accepted Upload Formats | JPEG, Progressive JPEG, PNG, GIF, HEIC, WebP | Official Shopify Help |
Detailed Requirements
Audit your export settings immediately to ensure they align with Shopify’s Content Delivery Network (CDN) behavior. Shopify does not store your images exactly as you upload them; it processes them to ensure fast loading times across mobile and desktop devices.
Why Shopify Strips Your Profiles
Shopify’s CDN uses aggressive optimization to maintain high PageSpeed Insights scores. Part of this optimization involves removing “non-essential” metadata. Embedded ICC (International Color Consortium) or ICM profiles—which tell a screen exactly how to render a specific shade of red or blue—are treated as metadata. When Shopify converts your JPEG or PNG into a WebP file for the end-user, it discards these profiles to shave off extra kilobytes.
The Adobe RGB vs. sRGB Conflict
Most professional cameras and high-end monitors default to Adobe RGB or ProPhoto RGB because these spaces contain more color data. However, web browsers are designed to interpret raw pixel data using the sRGB color space.
If you upload an image shot in Adobe RGB, and Shopify strips the profile, the browser will read the “wide” color values as if they were “narrow” sRGB values. This results in the classic “washed-out” look where neon greens turn muddy and vibrant reds turn orange. To prevent this, you must change the actual pixel data to sRGB before the file leaves your computer.
Hard Limits for Multi-Platform Sellers
While you might be tempted to upload the highest resolution possible for “future-proofing,” Shopify enforces a strict 20 MB and 4472 x 4472 pixel limit. If you are a multi-platform seller also listing on Amazon, note that Amazon’s minimum requirement is 1600 pixels on the longest side for zoom functionality. Standardizing your entire catalog at 2048 x 2048 pixels in sRGB format ensures compatibility across Shopify, Amazon, and Walmart without needing to re-export for each platform.
Common Rejection Reasons
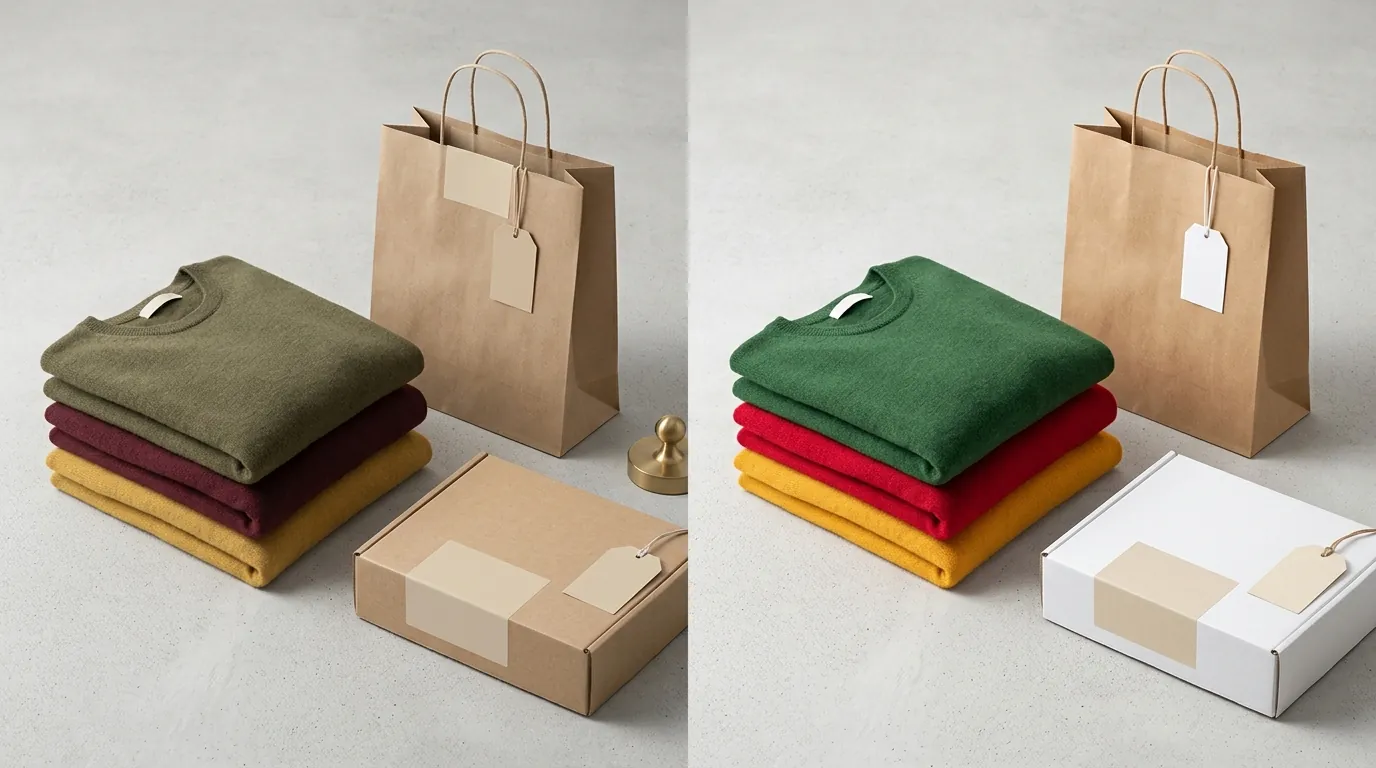
💡 Skip the manual editing. PixelMatch batch-generates ecommerce-ready product images in 60 seconds — white background, lifestyle scenes, and variant mockups from a single source photo. Try PixelMatch free →
Check your Shopify “Product” page for “failed to upload” errors or visual inconsistencies. Most image failures are not due to platform bugs but rather a violation of the underlying processing rules.
1. Desaturation and “Muddy” Tones
This is the most common visual “rejection” by customers. If your product is a specific shade of “brand purple” and it appears navy on Shopify, you likely uploaded a CMYK (print) or Adobe RGB (pro photography) file. Shopify’s WebP converter cannot accurately map these colors once the profile is stripped.
2. Mobile Blur and Pixelation
If your images look sharp on a 27-inch iMac but blurry on an iPhone 15 Pro, your source file is likely too small. While Shopify accepts smaller files, anything below the recommended 2048 x 2048 px limit will be stretched by the Shopify liquid theme to fill the container. This upscaling creates a “soft” or pixelated look that kills conversion rates.
3. The 20 Megapixel Wall
Sellers often confuse file size (MB) with resolution (megapixels). You might have a file that is only 5 MB but has dimensions of 5000 x 5000 pixels. This totals 25 megapixels, which exceeds Shopify’s 20-megapixel limit. The upload will simply fail with a generic error message.
4. Background Inconsistency
While not a technical “upload error,” inconsistent backgrounds create a disjointed user experience. Shopify’s WebP conversion can sometimes emphasize “dirty white” backgrounds (off-white) when it compresses the image. Using a tool to batch-generates AI product images allows you to maintain a consistent #FFFFFF hex code across your entire catalog, ensuring that the WebP compression doesn’t create visible “blocks” or artifacts in the white space.
How to Fix Each Issue
Execute these steps to standardize your catalog. If you have ten products, manual fixes are fine; if you have 1,000, you will need a batch processing solution.
Step 1: Convert to sRGB in Adobe Photoshop
Do not simply “Assign Profile.” You must “Convert to Profile” to change the actual color data of the pixels.
- Open your image in Photoshop.
- Go to Edit > Convert to Profile.
- Select sRGB IEC61966-2.1 as the Destination Space.
- Go to File > Export > Export As.
- Ensure the “Convert to sRGB” checkbox is ticked and “Embed Color Profile” is also ticked (as a fallback for some browsers).
Step 2: Set Your Camera to sRGB
Prevent the problem at the source. If you are doing your own product photography, go into your camera’s menu settings and change the Color Space from Adobe RGB to sRGB. This ensures that every preview you see on your camera screen and every RAW file you import starts with the correct web-ready color data.
Step 3: Batch Process Existing Catalog
If your store is already live with hundreds of washed-out images, you don’t have to re-upload them one by one.
- Photoshop Actions: Create an “Action” that opens a folder of images, converts them to sRGB, resizes them to 2048 x 2048 pixels, and saves them as high-quality JPEGs.
- PixelMatch: For sellers who need to scale quickly, PixelMatch automatically handles color profile conversion. When you use the platform to generate or enhance product photos, the output is already optimized for the sRGB color space and Shopify’s specific WebP compression quirks.
- Competitor Tools: You can use Photoroom’s Pro tier at $12.99/mo for batch background removal, or Canva’s Pro plan at $15/mo for bulk resizing. However, PixelMatch is purpose-built for multi-platform sellers who need to ensure their AI-generated shadows and lighting remain consistent even after Shopify’s CDN applies its compression.
Step 4: Verify with a Browser Audit
Once you have uploaded the fixed images, do not trust the Shopify admin preview. Open your live store in a “Private” or “Incognito” window. Right-click a product image and select “Open Image in New Tab.” Look at the URL; you will likely see .webp appended to the end. If the colors here match your original file, the fix was successful.
Official Source Links
Refer to these official documents to stay updated on platform changes, as Shopify frequently updates its CDN infrastructure.
- Shopify Help Center: Product media types and image limits
- Shopify Help Center: Fix the colors of uploaded images
- Shopify Community: Discussion on WebP Color Shifting
- Amazon Seller Central: Product Image Requirements
Frequently Asked Questions
Why do my images look different on an iPhone vs. a Windows laptop?
Most iPhones use “True Tone” and the P3 wide color gamut, which makes colors appear more saturated. Windows laptops often use standard sRGB displays. By converting your images to sRGB before uploading to Shopify, you create a “middle ground” that ensures the image looks as consistent as possible across these different hardware standards.
Can I turn off Shopify’s automatic WebP conversion?
No, Shopify does not provide an option to disable WebP conversion or the stripping of color profiles. This is a platform-wide optimization designed to improve load speeds for all stores. The only way to control the output is to ensure your input file (the one you upload) is already in the sRGB color space.
Is PNG or JPEG better for Shopify product photos?
For standard product photos, JPEG is superior because it offers a better balance between file size and quality. Use PNG only if you require a transparent background. Regardless of which you choose, Shopify will likely serve a WebP version to the customer, so the initial upload format matters less than the color space (sRGB) and dimensions (2048px).
Does Shopify support 4K or 8K product images?
While you can upload images up to 4472 x 4472 pixels, Shopify will downscale them for most theme displays. Uploading 8K images will likely lead to an “upload failed” error because the file will exceed the 20-megapixel or 20 MB limit.
Ready to scale your listings?
PixelMatch generates white-background, lifestyle, and variant mockups from a single source photo — built specifically for multi-platform ecommerce sellers. 50 free images on signup, no credit card.
Start free →
Sources
- Shopify Help Center: Product Media Types
- Photoroom: Pricing and Plans
- Canva: Pro Pricing
- Amazon Seller Central: Image Standards
- Stripe: Standard Pricing Fees