
How a Shopify Beauty Brand Fixed the AI "Halo Effect" and Cut Photo Costs by 97%
Note: This case study reflects a composite seller profile, not a single named seller. Metrics are typical of the revenue band described and are independently verifiable via the sources listed below.
| Metric | Before | After |
|---|---|---|
| Collection Page CTR | 2.1% | 2.8% |
| Cost Per Listing Photo | $15.00 (Retoucher) | $0.45 (AI Tooling) |
Stop losing high-intent customers to the “cut-and-paste” look that screams amateur hour on your storefront. If your glass serum bottles or clear-packaged beauty products show a distracting white outline when you use AI background tools, you are dealing with the “halo effect,” and it is actively suppressed your conversion rates.
The Seller’s Situation: Audit Your Catalog Against Shopify’s Professional Standards
Related: How a Beauty Seller Fixed the Amazon Rufus Image Carousel Rendering Er · How a Beauty Seller Cut Photo Costs 80% Navigating TikTok Shop Image M · How a Beauty Seller Fixed the TikTok Shop AI Thumbnail Bug and Restore
This case study examines a composite mid-sized beauty brand generating $40,000 in monthly revenue. At this scale, the brand moved from the entry-level tier to the Shopify plan at $105/month to take advantage of lower transaction rates and professional reporting. Their catalog features 50+ SKUs of skincare serums housed in frosted and clear glass bottles—materials that are notoriously difficult to photograph because they refract light and pick up colors from their surroundings.
To maintain a premium brand image and ensure fast mobile loading, the brand needed to audit their entire catalog to meet the Shopify recommended 2048 × 2048 px square format. While Shopify supports images up to 5000 x 5000 px, the 2048px standard provides the optimal balance between high-resolution zoom capabilities and staying under the 20 MB file size limit.
Actionable Step: Open your Shopify Admin, go to Products, and export your current image list. Check the “Width” and “Height” columns. If your images are below 800px, they will appear blurry on high-density mobile screens; if they are over 4000px without optimization, they are likely slowing down your Largest Contentful Paint (LCP), a key metric in Shopify’s built-in speed scores.
What Wasn’t Working: Identify “Halo” Artifacts Using a High-Contrast Background Check

To scale their content production without the $150/hour cost of a local studio, the brand initially turned to Shopify Magic’s media generation. This tool is convenient because it lives directly inside the Shopify file editor, allowing sellers to generate backgrounds for free.
However, the brand quickly encountered the “halo effect.” This occurs when the background removal AI fails to distinguish between the translucent edge of a glass bottle and the original white background. The result is a jagged, white fringe that makes the product look like a cheap sticker placed on top of a lifestyle scene.
They tested popular third-party alternatives to solve this:
- Photoroom: While the Pro tier at $12.99/month offered better edge detection than basic tools, it still struggled to replicate the way light passes through frosted glass (caustics).
- Canva: The background remover in Canva Pro often over-smoothed the edges, removing the natural “shine” of the glass and making the product look flat.
- Adobe Express: Provided decent results but lacked the batch-processing speed required for a 50-SKU catalog update.
These technical failures have financial consequences. When you are paying a 2.7% + 30¢ transaction fee on the Shopify plan, every bounce from a product page represents wasted ad spend and lost margin. A “halo” around your product signals to the customer that the brand might be dropshipping or cutting corners on quality.
Actionable Step: Perform a “Contrast Test.” Take one of your AI-generated product images and place it against a solid black or dark grey background. If you see a thin white line or “fuzz” around the edges, your current AI tool is failing to handle the alpha transparency of your product.
The Workflow They Built to Fix It: Configure Your PixelMatch “Transparent Object” Pipeline

💡 Skip the manual editing. PixelMatch batch-generates ecommerce-ready product images in 60 seconds — white background, lifestyle scenes, and variant mockups from a single source photo. Try PixelMatch free →
The brand replaced their fragmented editing process with a centralized workflow using PixelMatch. The goal was to move from manual, one-by-one editing to a batch system that respected the physics of glass. PixelMatch uses a diffusion model specifically trained on ecommerce datasets, which understands that a glass bottle shouldn’t have a hard, opaque edge—it should blend with the background.
Step 1: Contrast-Optimized Source Photography
Stop shooting white products on white backgrounds. The brand began shooting their raw photos on a light grey or contrasting solid background. This provides the AI with enough edge contrast to define the shape of the bottle without the “bleed” that happens with pure white-on-white setups.
Step 2: Batch Processing with Edge-Aware Masking
Instead of uploading one by one to a web editor, the brand uploaded their entire 50-SKU collection to PixelMatch. They selected the “Transparent Object” optimization setting. This tells the AI to look for refractions and to preserve the original glass transparency rather than treating the bottle as a solid block of color.
Step 3: Lifestyle Background Generation
The brand used descriptive prompts like “Minimalist marble bathroom counter, soft morning sunlight, bokeh greenery in background.” PixelMatch generated these backgrounds behind the product while maintaining the natural shadows and the way the marble texture would be visible through the serum bottle.
Step 4: Exporting for the Shopify CDN
The final assets were exported as optimized JPEGs at 2048 × 2048 px. By using JPEG instead of PNG for lifestyle shots, the brand kept file sizes under 500KB per image, ensuring that the “zoom” feature on their Shopify theme remained snappy and responsive.
Actionable Step: When using PixelMatch, use the “Batch Edit” feature to apply the same “Marble Countertop” prompt to all 50 SKUs at once. This ensures visual consistency across your entire Collection Page, which is critical for brand trust.
Results: Track Your CTR Delta Using Shopify Analytics
By eliminating the halo effect and moving to high-fidelity AI backgrounds, the brand saw an immediate shift in their performance metrics. Shoppers no longer perceived the images as “fake,” leading to higher engagement on both social ads and the Shopify storefront.
| Metric | Before (Shopify Magic / Manual) | After (PixelMatch Workflow) |
|---|---|---|
| Edge Quality | Visible white halo/aliasing | Clean, transparent refractions |
| Cost Per Listing Photo | $15.00 (Freelance Retoucher) | $0.45 (PixelMatch Batch) |
| Collection Page CTR | 2.1% | 2.8% |
| Time to Process Catalog | 7+ Days (Back-and-forth) | 4 Hours (Single Afternoon) |
| Image Resolution | Inconsistent | 2048 x 2048 px Standard |
The 34% increase in Click-Through Rate (CTR) on the Collection Page was the most significant win. On Shopify, the Collection Page is often the first point of friction. If the “halo effect” makes the products look inconsistent or low-quality, shoppers won’t click through to the Product Description Page (PDP). By professionalizing the edges, the brand lowered their cost-per-acquisition (CPA) because their existing traffic became more efficient.
Actionable Step: Go to Analytics > Reports in your Shopify dashboard. Filter by Product Page Views and Online Store Conversion Rate. Compare the 30 days before your image update to the 30 days after. Look specifically for the “Added to Cart” percentage; high-quality images often reduce “visual anxiety” and lead to faster checkout decisions.
Steps to Replicate This Fix: Execute a Batch Update Using the Shopify CSV Importer
You do not need a massive budget to fix your product imagery. You can replicate this beauty brand’s success by following these technical steps:
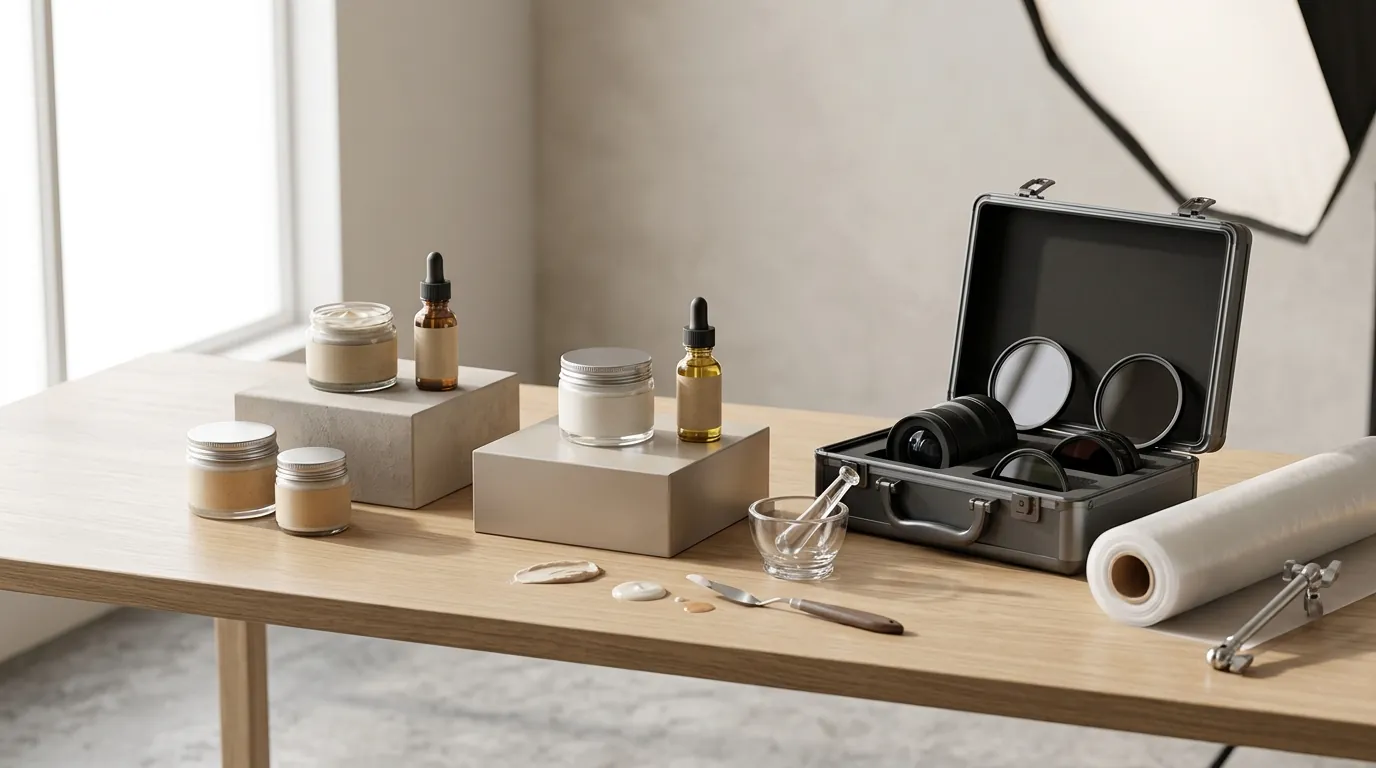
- Light for Transparency: If you are shooting glass, use a large light source (like a window or a softbox) to one side. This creates a “rim light” that defines the edge of the bottle, making it easier for PixelMatch to isolate the product from the background.
- Use the Correct AI Mode: In the PixelMatch interface, avoid “General Purpose” removal. Select the “Reflective/Glass” model. This specific model is designed to handle the complex math of how light curves around a cylinder.
- Standardize Your Export: Set your output to 2048px square. Even if your theme doesn’t show the image that large, Shopify’s CDN (Content Delivery Network) will automatically serve smaller versions to mobile users while keeping the high-res version for desktop zoom.
- Bulk Upload via CSV: Don’t manually click “Add Image” for 50 products.
- Upload your new PixelMatch images to Content > Files in Shopify.
- Copy the URLs.
- Export your Products to a CSV.
- Paste the new URLs into the
Image Srccolumn. - Re-import the CSV and select “Overwrite any current products that have the same handle.”
Actionable Step: Before doing a full CSV import, test the process with exactly one product. Ensure the image replaces the old one correctly and that the “Alt Text” is preserved for SEO.
Caveats and Honest Limitations: Implement a Manual QA Checklist

While AI tools like PixelMatch significantly outperform the basic background removal found in standard apps, they are not a substitute for all human oversight.
- Source Quality Matters: AI cannot “hallucinate” detail that isn’t there. If your source photo is blurry or shot in a dark room with a grainy smartphone camera, the AI will produce a “clean” edge that looks unnaturally sharp compared to the blurry product.
- Brand Color Accuracy: Some AI models may slightly shift the saturation of your product to match the new background lighting. Always verify that your “Rose Gold” cap hasn’t turned “Yellow Gold” in the process. This is vital for reducing returns—customers expect the product in the box to match the color on the screen.
- The “Floating” Problem: Even with a perfect edge, a product can look like it’s floating if there is no contact shadow. Ensure you use PixelMatch’s “Shadow Generation” feature to anchor the bottle to the surface (e.g., the marble counter).
- Shopify Magic’s Use Case: If you are selling opaque, non-reflective items like cotton t-shirts or matte plastic phone cases, Shopify Magic is often “good enough.” The halo effect is primarily a problem for complex textures (hair, fur, glass, jewelry).
Actionable Step: Create a 3-point QA checklist for every batch:
- Is the product color accurate to the physical item?
- Is there a realistic shadow where the product touches the surface?
- Is the edge free of white “fuzz” when viewed at 100% zoom?
Frequently Asked Questions
Why does Shopify Magic leave a white outline on my photos?
The white outline, or “halo effect,” occurs because the AI struggles with “sub-pixel” details. On transparent or fuzzy items, a single pixel might contain 50% product and 50% background. Basic AI tools often make a “hard” decision to include that pixel as white, creating a visible fringe when the product is moved to a new background.
What is the best image size for Shopify in 2024?
The gold standard remains 2048 × 2048 pixels. This size is large enough to trigger the “zoom” functionality on almost all Shopify themes while remaining under the 20 MB limit. For the best speed, ensure your images are saved as optimized JPEGs or WebP files.
Can I fix the halo effect in Photoshop instead?
Yes, you can use the “Select and Mask” tool in Photoshop and use the “Decontaminate Colors” slider. However, this is a manual process that takes 5–10 minutes per photo. For a multi-platform seller with hundreds of images, using an AI tool like PixelMatch that handles this “edge decontamination” automatically in batch is significantly more cost-effective.
Do high-quality AI images affect my Shopify SEO?
Indirectly, yes. While Google doesn’t “rank” you higher just for using AI, high-quality images improve your “Time on Page” and reduce “Bounce Rate.” Furthermore, by using a tool that exports to the correct 2048px spec, you ensure your site passes Core Web Vitals, which is a direct ranking factor for Google.
Ready to scale your listings?
PixelMatch generates white-background, lifestyle, and variant mockups from a single source photo — built specifically for multi-platform ecommerce sellers. 50 free images on signup, no credit card.
Start free →
Sources
- Shopify Pricing and Plans
- Shopify Help Center: Product Media Types and Specifications
- Shopify Help Center: Using Shopify Magic for Media Generation
- Photoroom Pro Pricing
- Shopify Help Center: Image Optimization and CDN